

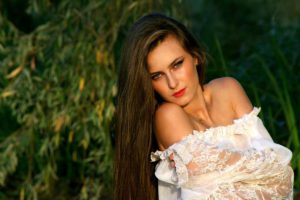




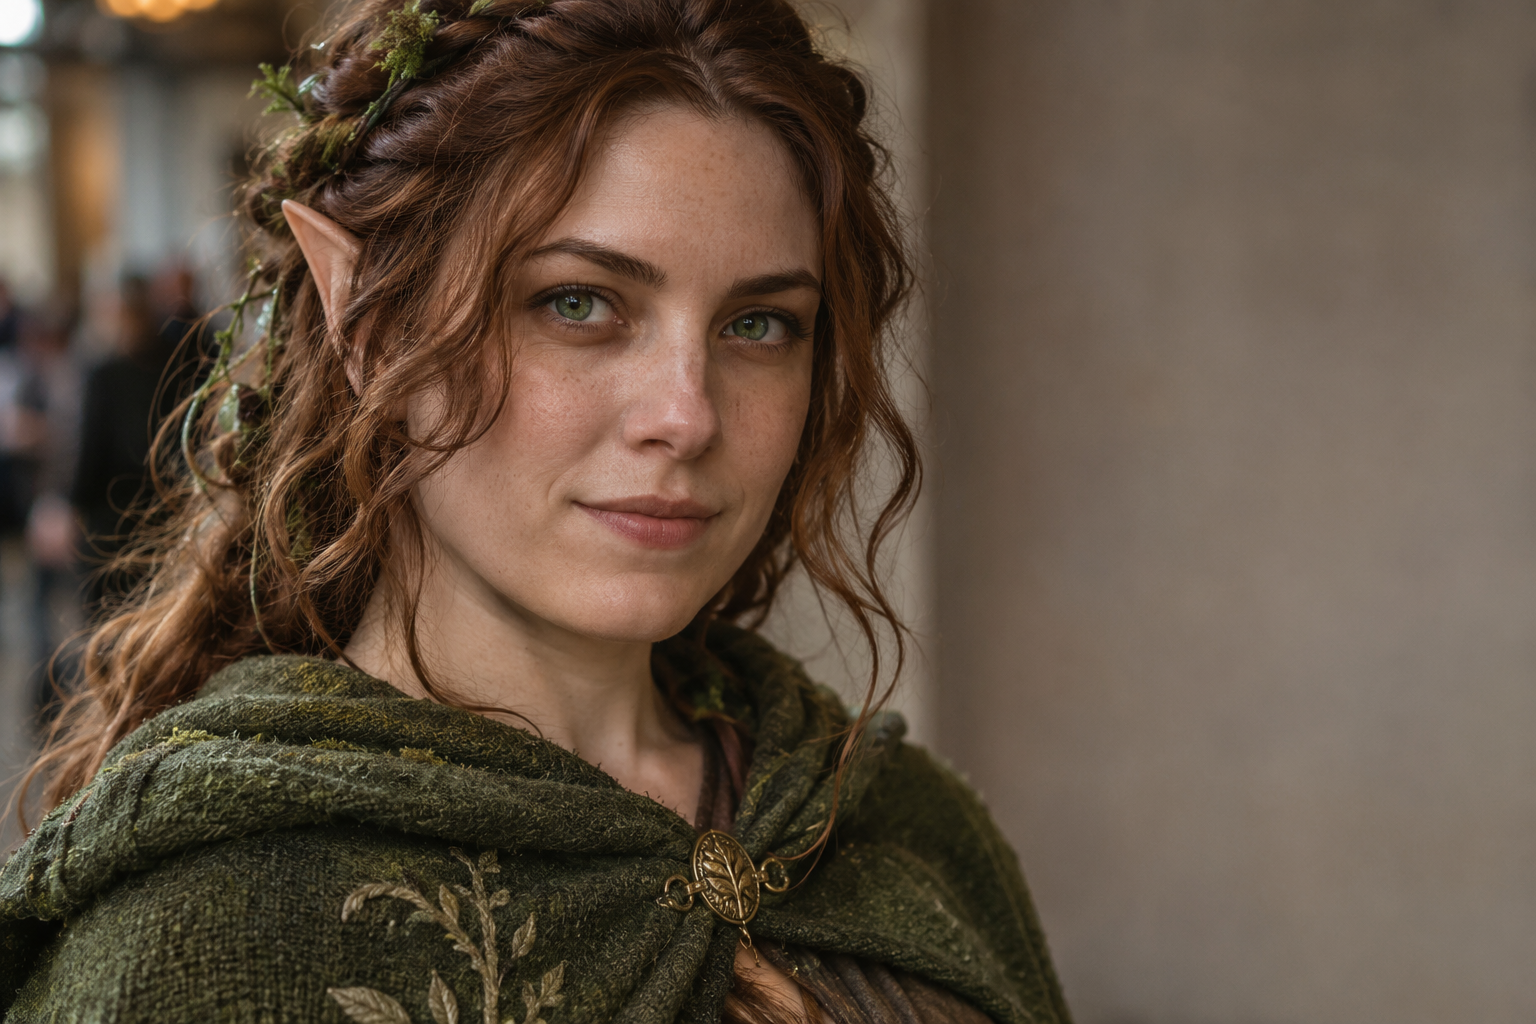
When a character’s outfit is already recognisable, cosplay contact lenses can bring one more detail into focus. The effect depends on how the eyes sit alongside the wig, makeup and costume. For a forest mage, green contact lenses can echo the greens in the costume or stand out against a warmer palette. For a ghost or an otherworldly character, a stronger contrast can make a quiet expression feel unsettling. That’s where white contact lenses can give a simple costume a distinctive focal point.
Choose the effect that suits the character
Reference images give cosplayers a starting point, but the most useful reference depends on where the costume will be seen. A close-up from an animated series shows the colour and pattern of the iris. A full-body image shows how much that detail contributes to the character’s overall look. If the costume is mainly for a convention, a striking wig or distinctive silhouette may do most of the work. For a portrait shoot, the eyes have more room to carry the character’s expression.
Shade matters as much as colour. A muted olive can suit a weathered costume with leather, linen and antique brass. A bright emerald can feel more at home with jewel-toned fabric and clean, graphic makeup. The same principle applies to pale shades. A soft, milky iris can give a ghostly character a distant expression, while a crisp white can create a more stylised effect, especially against dark brows and lashes.
Give the eyes room in the makeup and costume
A costume with an elaborate wig, face markings and ornate accessories gives the viewer several things to look at. If the eyes are meant to be the focal point, a small change to the makeup can help. Keeping the eyelid colour simple or moving a bright accent towards the cheekbone gives the iris more room to stand out. If the face markings identify the character, a softer eye colour can sit comfortably alongside them.
It also helps to look at the whole outfit in a mirror from a few steps away. A green iris might seem vivid on its own but blend into a similarly coloured fringe. Pinning a section of hair back or adjusting where the fringe sits can bring that detail back into view. A pale iris may need less framing than expected, particularly when the costume already includes dark makeup around the eyes.
Check the look in the lighting that matters
A quick phone photo in daylight and another indoors can reveal more than a well-lit mirror. Warm indoor light can make olive shades look softer, while a shadow from a hat or fringe can hide the iris almost entirely. Taking one close-up and one waist-up photo makes it easier to judge whether the colour adds something at both distances.
For a planned shoot, it’s worth checking how the eyes look with the actual lighting before settling on a pose. A bright reflection across the iris can obscure a printed pattern. Shifting the angle of the face slightly can bring that detail back into view. A portrait that shows the character glancing sideways may also tell a better story than one where every detail faces the camera squarely.
Plan the finishing touches before the event
An optometrist can assess whether decorative lenses are suitable, check the fit and explain how to wear and care for them, including when the lenses are worn purely to change eye colour. Allowing time for that appointment before a convention or shoot keeps the decision from becoming a last-minute part of getting dressed.
A final costume check works best with the wig, makeup and accessories in place. If the face already has plenty of contrast, a subtle shade may be enough. If the costume is deliberately understated, the eyes can do more of the storytelling. A costume’s eye colour works best when it suits the character, holds up under different lighting and draws attention to the details that matter.